
2021-EFREI-M1-Naspberry
Objective:
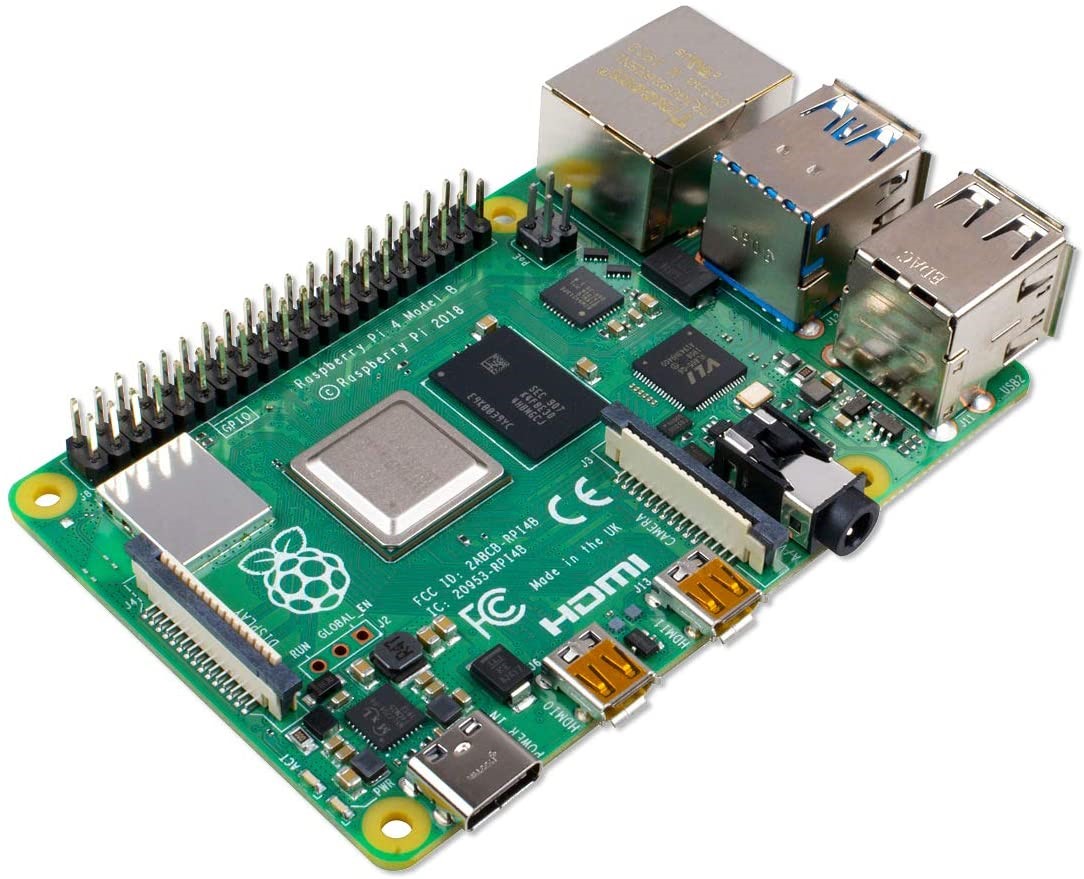
The aim of the project was to realize a little NAS home server with a raspberry pi 4.
Options:
Originally, when we were thinking about the project and managing the different ways of doing it, we found many possible options to carry out the NAS.
First, we could have bought directly an existing NAS as synology (synology nas ds220+) NAS and work on the whole configuration of the Operating System and on the addition of sensors to control remotely the NAS. We didn’t find out that it was that interesting. That’s why we decided to create our own homemade server starting from scratch. Thus, we chose to work with a raspberry.
Second, we had the option to do a NAS only for the IoT project or to do a performant home NAS. Once again, we find out that it was more interesting to build the best possible product.
Third, to optimize the NAS consumption and performance we installed an OS without any desktop. Then, we had to decide how to manage data transmission and which would be the data file system. We could have used SAMBA directly which would have required to do a lot of configuration for the NAS, but it appears to not be very reliable and could lead to huge security issues. Therefore, we decided to use Openmediavault to be sure that there won’t be security issues.
Finally, we thought that even if we chose HDD hard drives optimized for NAS server it was interesting to work on how to protect even more data. Thus, we worked on the implementation of a RAID storage. The idea of RAID strategy is to store data across different disks. Data can be duplicated or mirrored. In our case, because we decided to work with 2 disks, we chose RAID 1. In RAID 1, data is mirrored within the 2 hard drives.
Slides & Videos
Members
| Name | Contribution |
|---|---|
| Adrien Garcia | Raspberry set up OS set up OMV set up Security |
| Julien Veaux | Raspberry set up Sensors part Video editing |
State of the Art
Business Aspect
The Best NAS for Most Home Users
In most some litte home NAS servers. Among the plenty of brands existing we can distinguish Synology & Qnap. As we decided to work on a DIY we haven’t made a detailed state of the art of existing NAS.
On this webpage you can find a lot of information about the NAS on the market and the differences between them.
Technical Aspect
Transformez votre Raspberry Pi 4 en NAS
The idea of doing a homemade NAS is well spread over the DIY community. So on the world wide web you can find plenty of home servers tutorials that have been shared. Moreover, as it is always the case, in the DIY world you can build your own project at will and add the features and improvements that are paramount to you. Thus, we wanted to build from scratch our own home made NAS.
In this field, a lot of examples exists such as this one (ie: https://www.inpact-hardware.com/article/1013/transformez-votre-raspberry-pi-4-en-nas). It shows the main steps of the NAS server construction. Here we found that the NAS presented was quite simple and not optimal. First, no security issue was handled, and no home-made setup was shown. Finally, there is no RAID storage implemented here and no reliable disk presented.
Raspberry Pi RAID : la solution pour un NAS peu encombrant et peu cher ?
In addition, this website showed an example of a NAS done with Openmediavault (https://www.clubic.com/raspberry-pi/article-893816-1-raspberry-pi-raid-omv-pi-4b-joue-stockage.html) but faces issues in alimentation and with the Hard drives.
That’s a problem we will definitely solve in our NAS assembly because alimentatoin issues could lead to important troubles with the components.
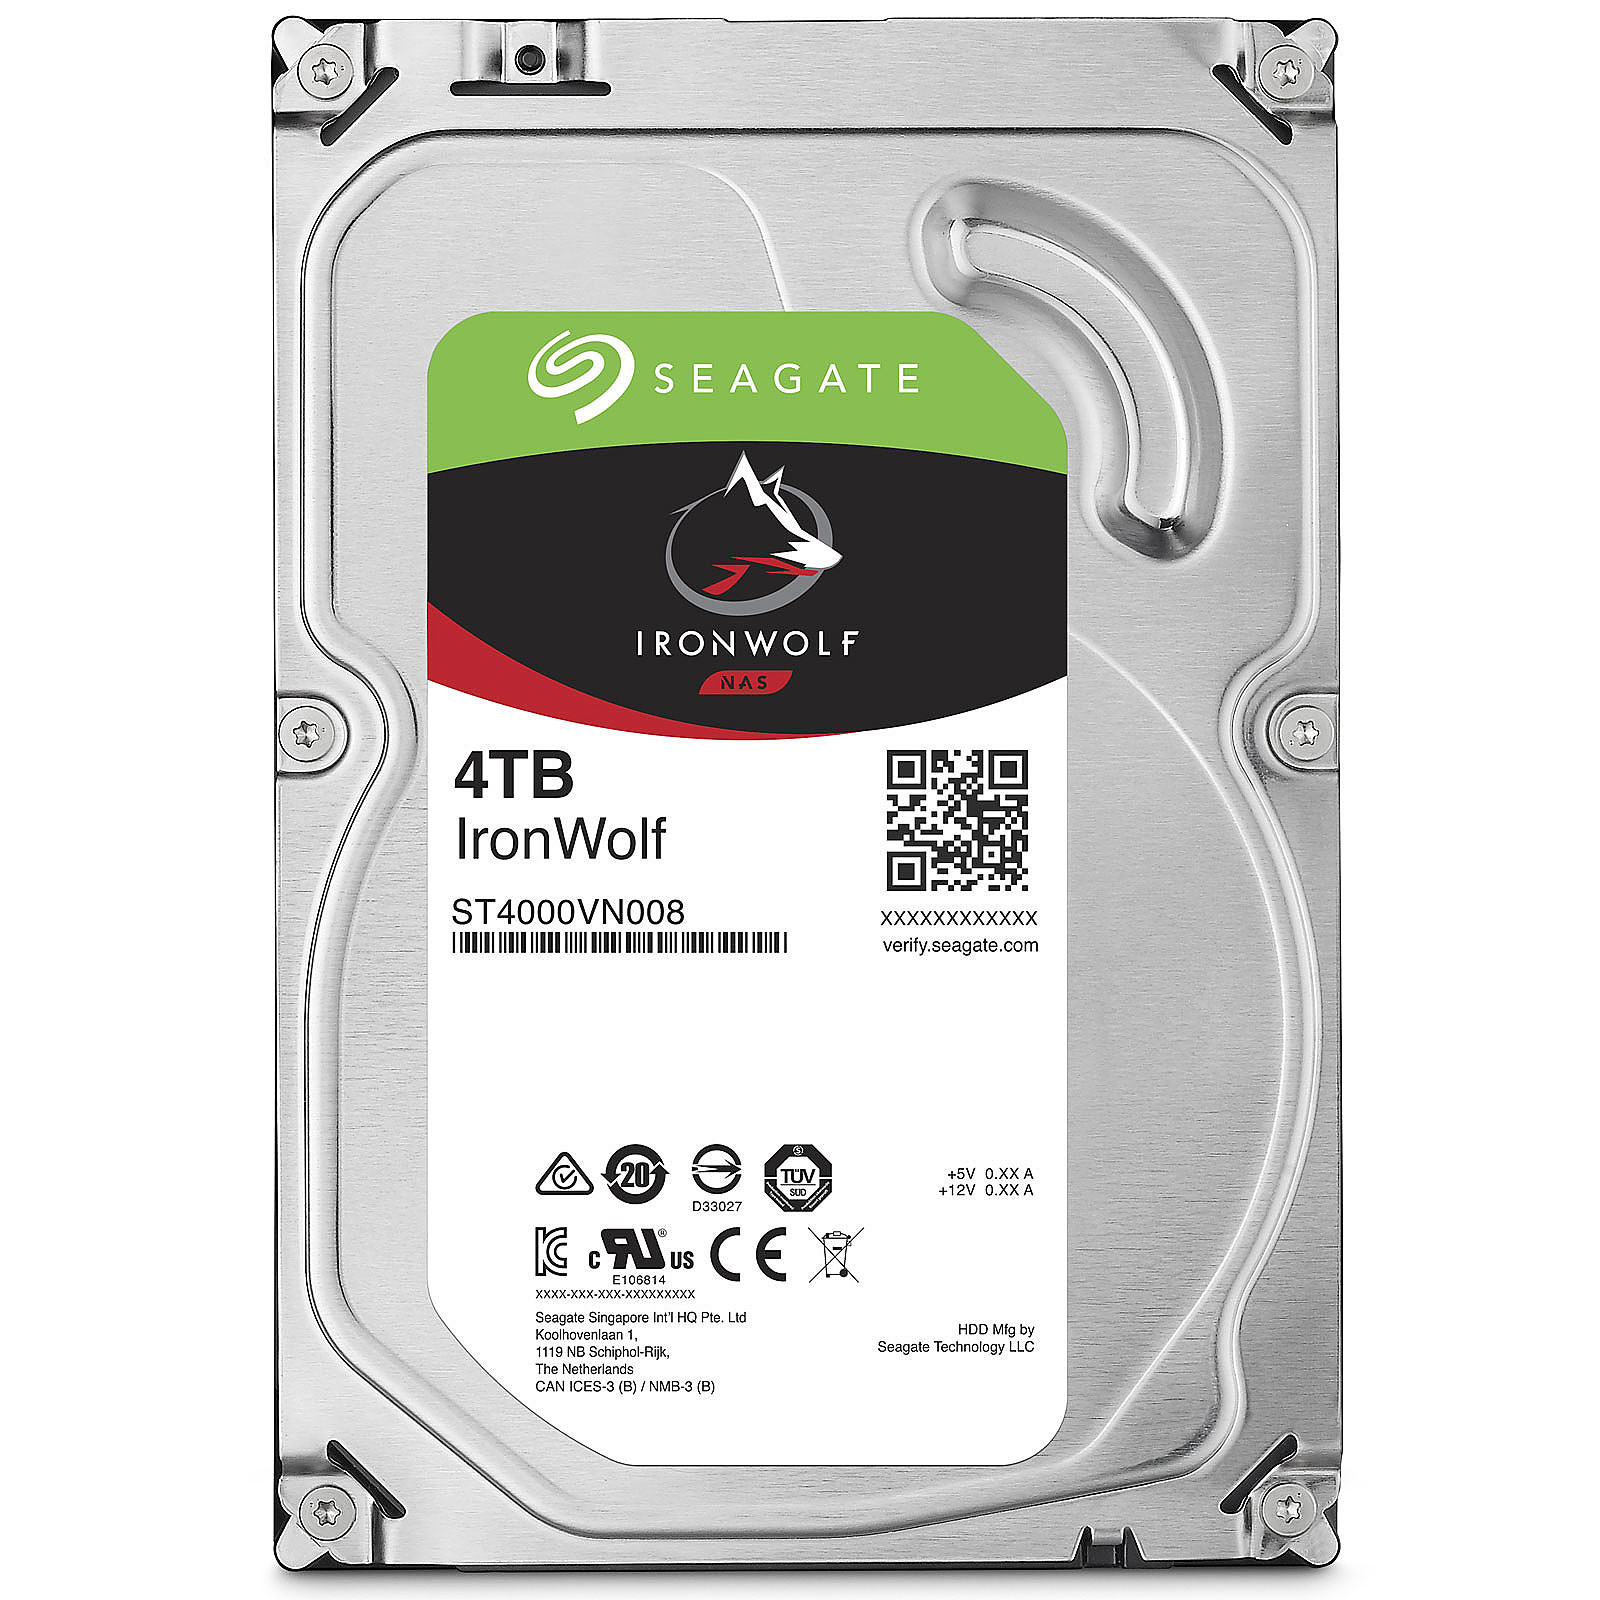
As so, this project presented is quite good overall but isn’t as good as we want our NAS server to be. So, we used NAS prepared hard drives : (https://www.seagate.com/fr/fr/internal-hard-drives/hdd/ironwolf/) and we did build our own alimentation system to be sure that there are no issues there.
The Harddrives are the center of the data storage so it is paramount for us that they are reliable.
Moreover, we searched information about NAS security because it was paramount for us that nobody could reach the data stored. We found this article on the subject (https://cybernews.com/resources/nas-security-guide/). This website is quite interesting but doesn’t really explain as a tutorial how to set it up.
Finally, we decided to carry out our complete home-made solution. The latter would use reliable components, use a safe file system manager, implement a Raid storage strategy and be home-made.
Project Description
Problem Definition
At home we both have some old computers containing hard drives with a lot of pictures. These pictures have for the most a sentimental importance and we don't want to lose them. Moreover, normally in these cases we could just copy all information on another hard drive but we finally thought, that it would be nice if we could access these pictures frequently and easily to remember good moments lived in the past.
Thus, the NAS appeared to be a very good solution because we could access all the data available on the disk from any device at home and outside if secutiry issues are handled.
Challenges & Motivation
After a few minutes, we decided to work on a NAS server because no one of us had one and we both thought it was an interesting subject.
Real and Complete Usecases
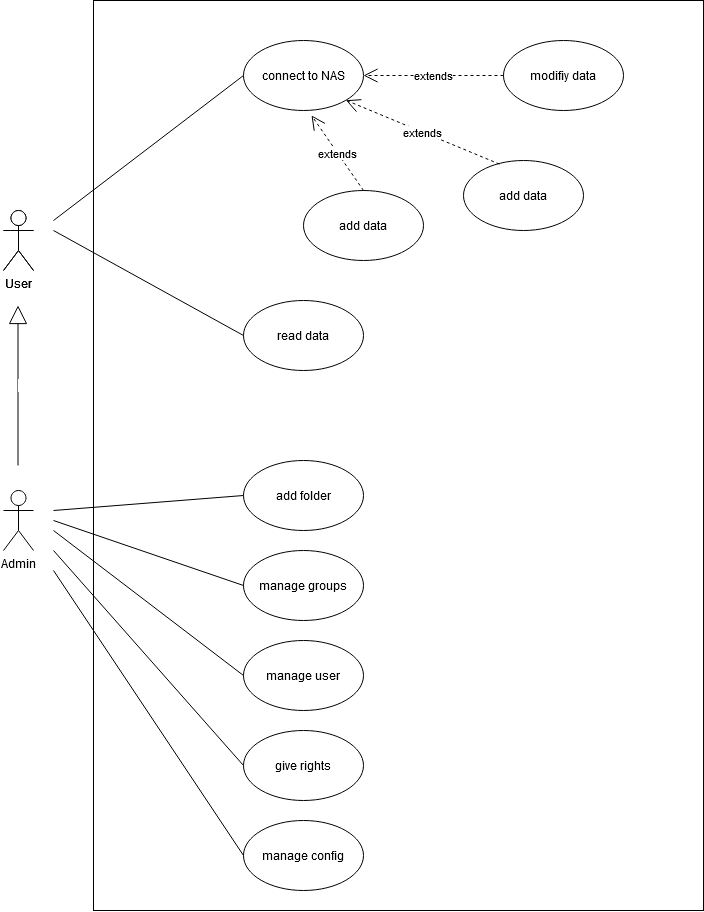
Technical Description
Physical assembly
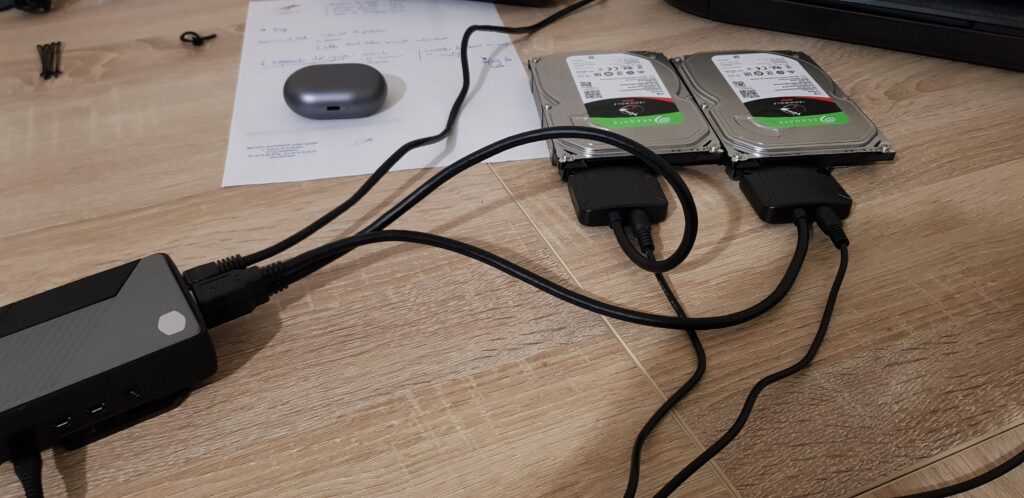
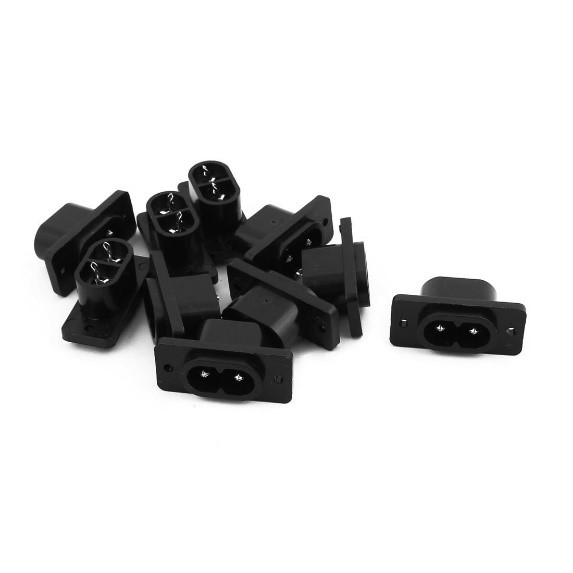
First step : We plugged the alimentation cable after stripping it and we also plugged the hard drives to the raspberry.
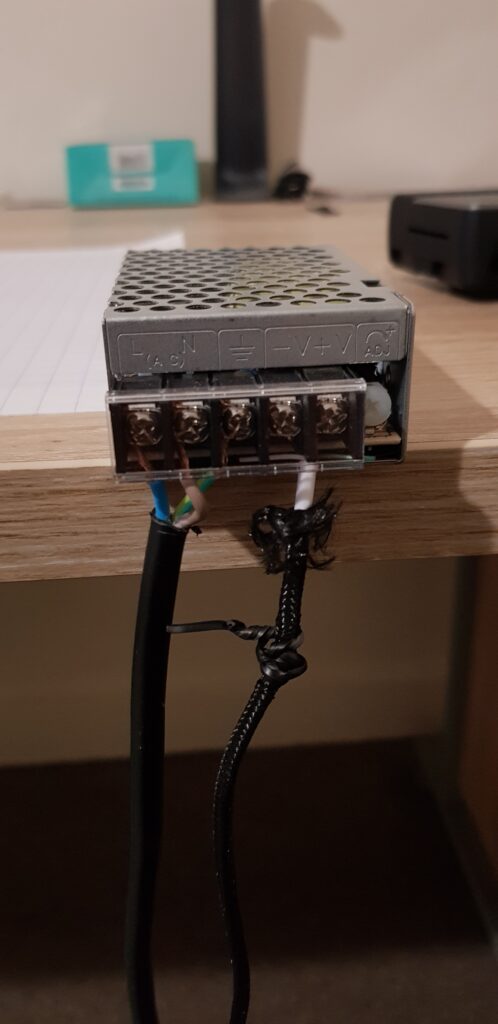
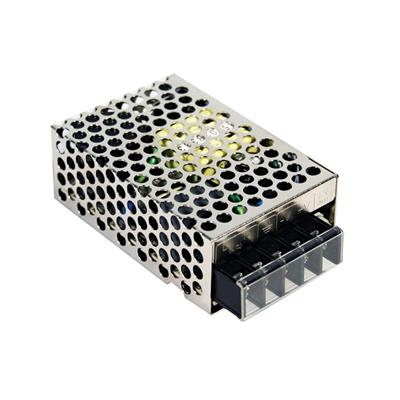
Second step : We stripped the two cables and plugged them into the alimentation bloc. Finally, we plugged them to the source map and the raspberry board.
Operating System
The physical assembly is alimented by a an alimentation of 5V and 5A to both aliment the raspberry and the 2 hard drives which couldn’t be alimented only by the raspberry.
All the configuration of open media vault and the OS are done below :
First step : Flashing the Operating System into a micro SD card. To do so, we plugged the micro SD into the card reader and plugged it into the computer. We then downloaded the image of the “Raspberry Pi OS Lite” with no desktop and no software installed with it.
Second step : We added an ssh file to the new boot hard drive created in order to control the server from our computers.
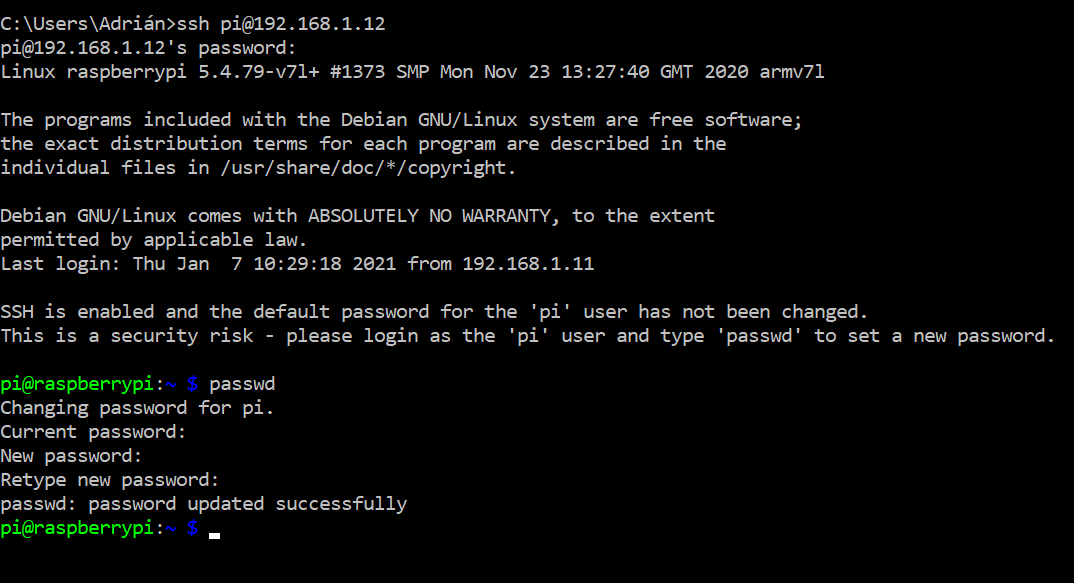
Third step : Once, the OS was flashed into the micro SD, we inserted the latter into the Raspberry Pi 4 and plugged the alimentation and ethernet cable to it. Finally, we connected to the raspberry from our computer by ssh.
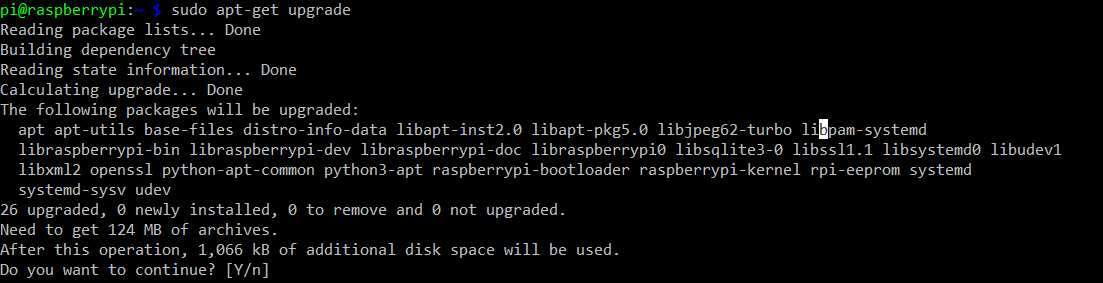
Fourth step : Once connected, we installed the latest update for the OS.

Fifth step : We changed the password to add a little security increase.
Openmediavault
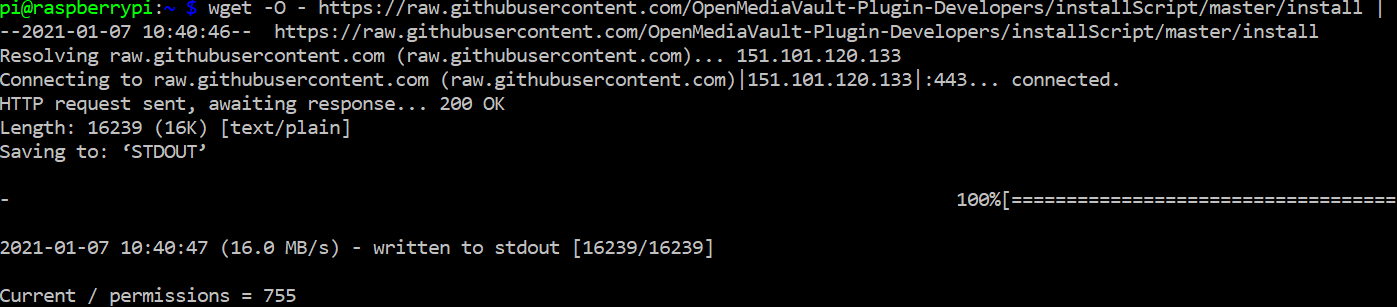
We had two possible choices in order to install OMV. First, we could download the ISO and flash it. Otherwise, we could install it directly with the terminal and that’s what we did.
First step : To start with, we downloaded Openmediavault from the official repository.
Second step : Preparation of the 2 disks :
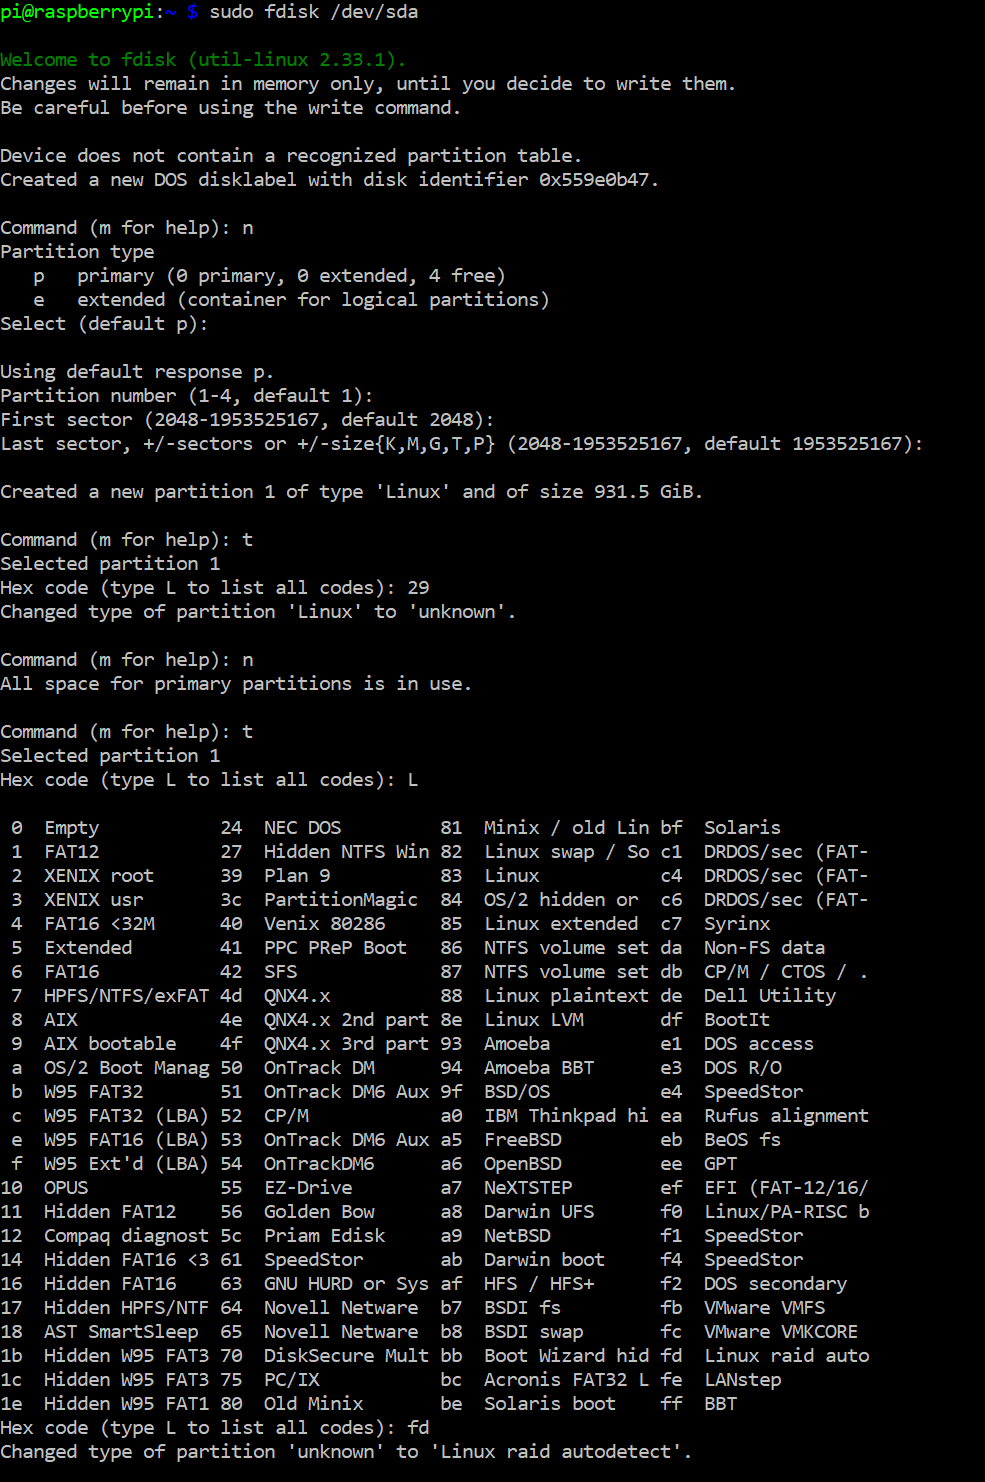
Third step : Set up of RAID 1 to increase data reliability.
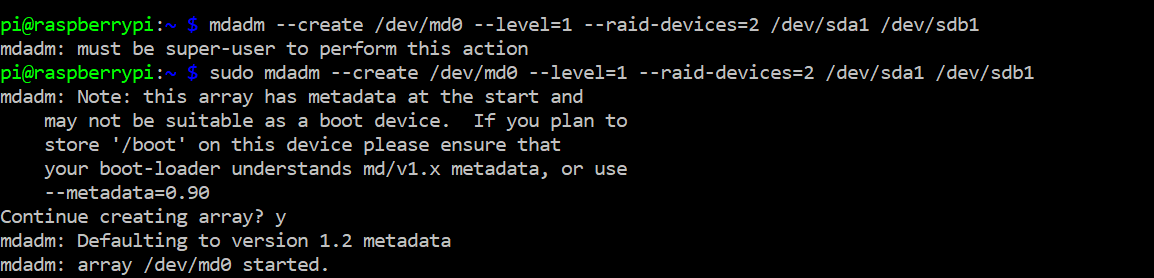
This step takes more than one hour, and we followed the process with this command :


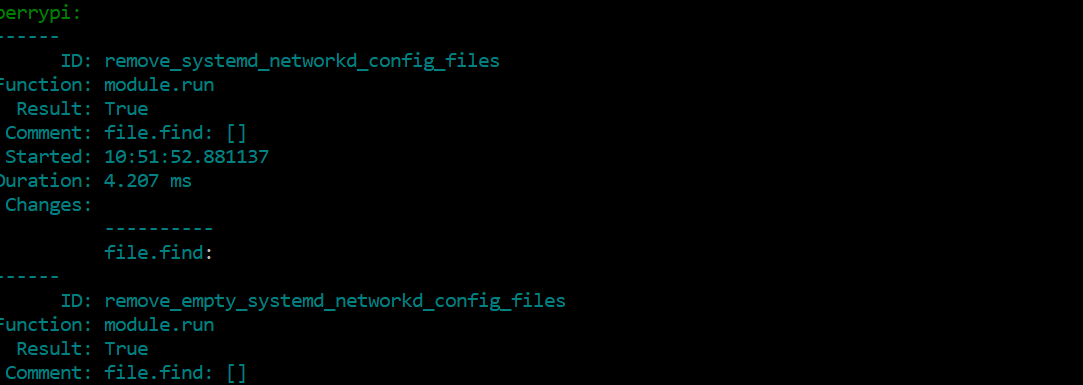
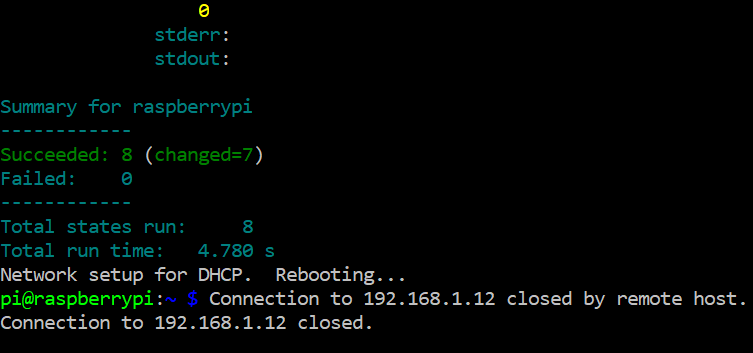
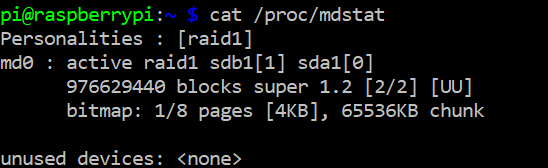
Once it is finished :
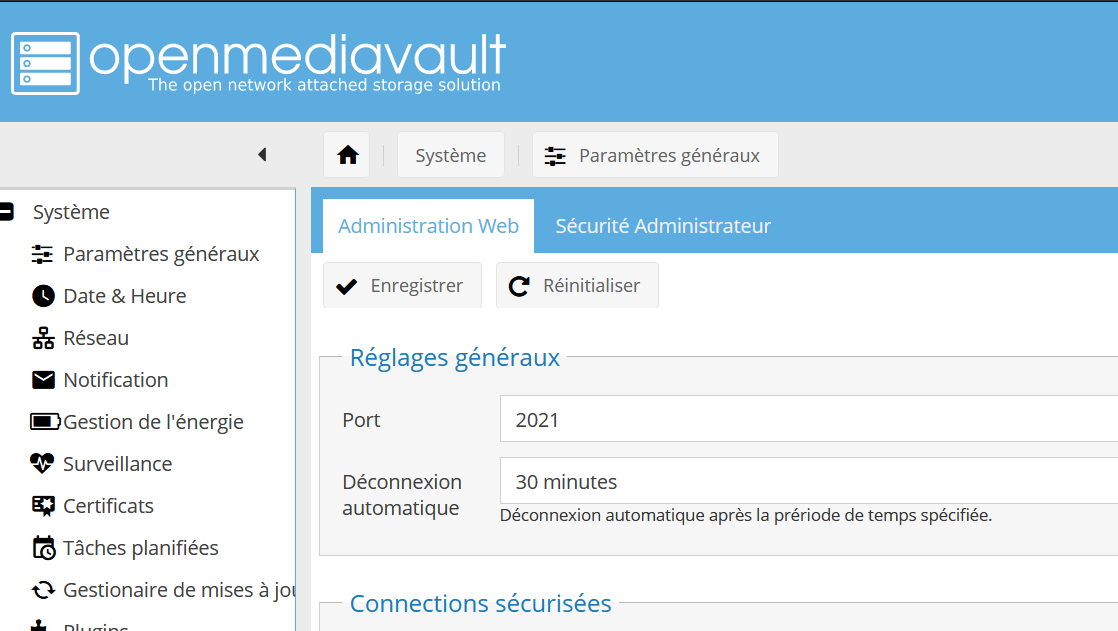
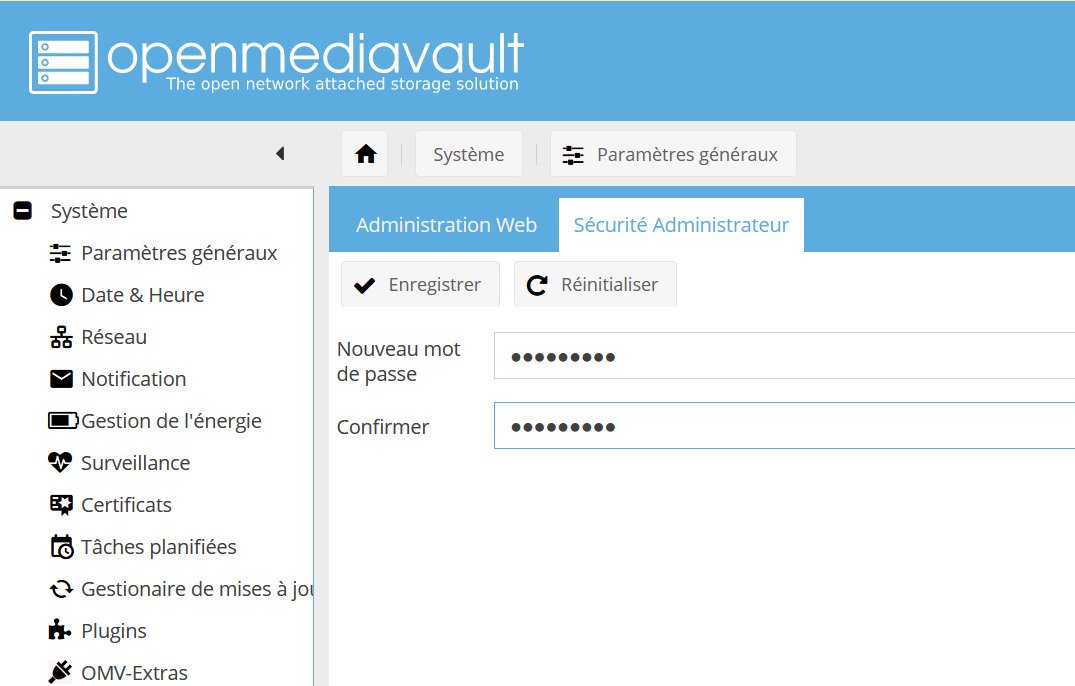
After finishing the whole config with the terminal, we accessed the web interface of OMV and continued the configuration there.
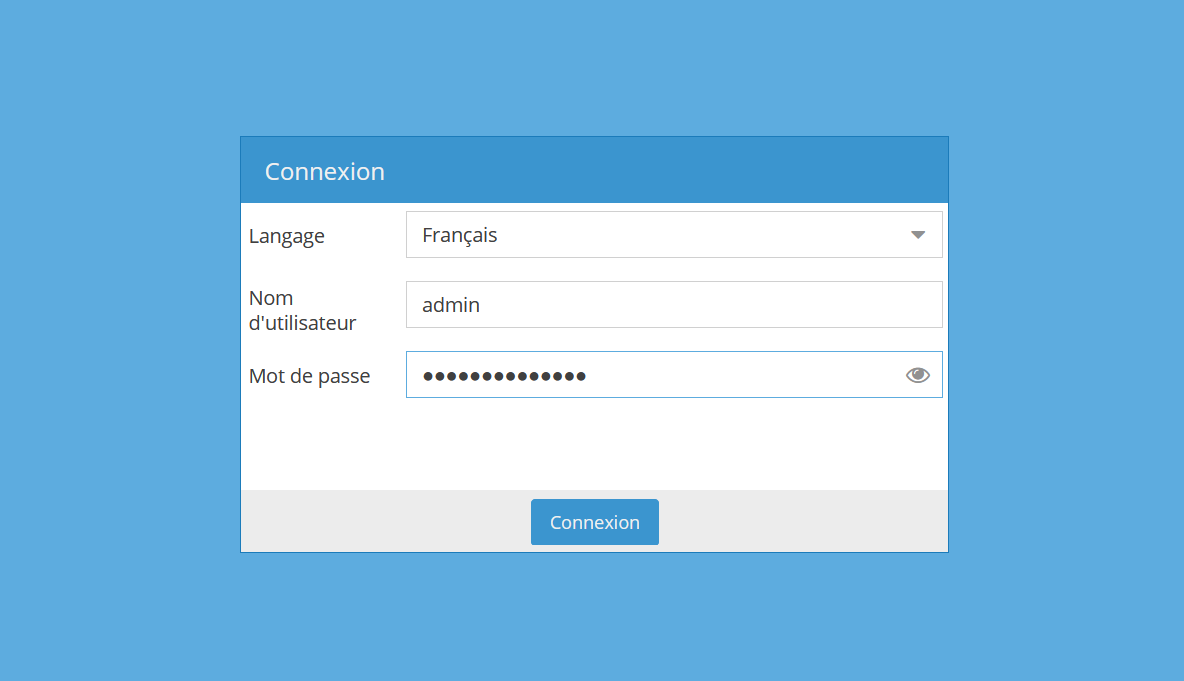
We also changed the password and the port number to once again check after security issues.
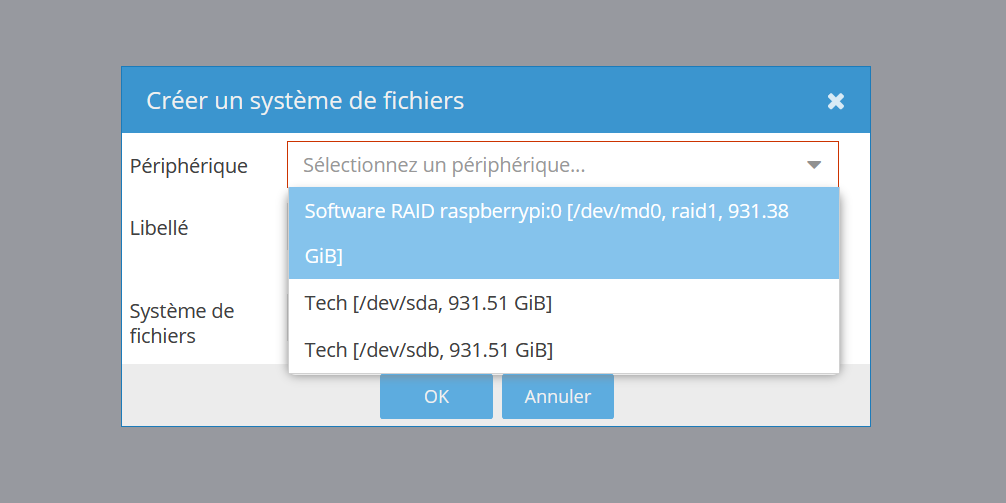
Moreover, we could observe in the file system the md0 raid disk created.
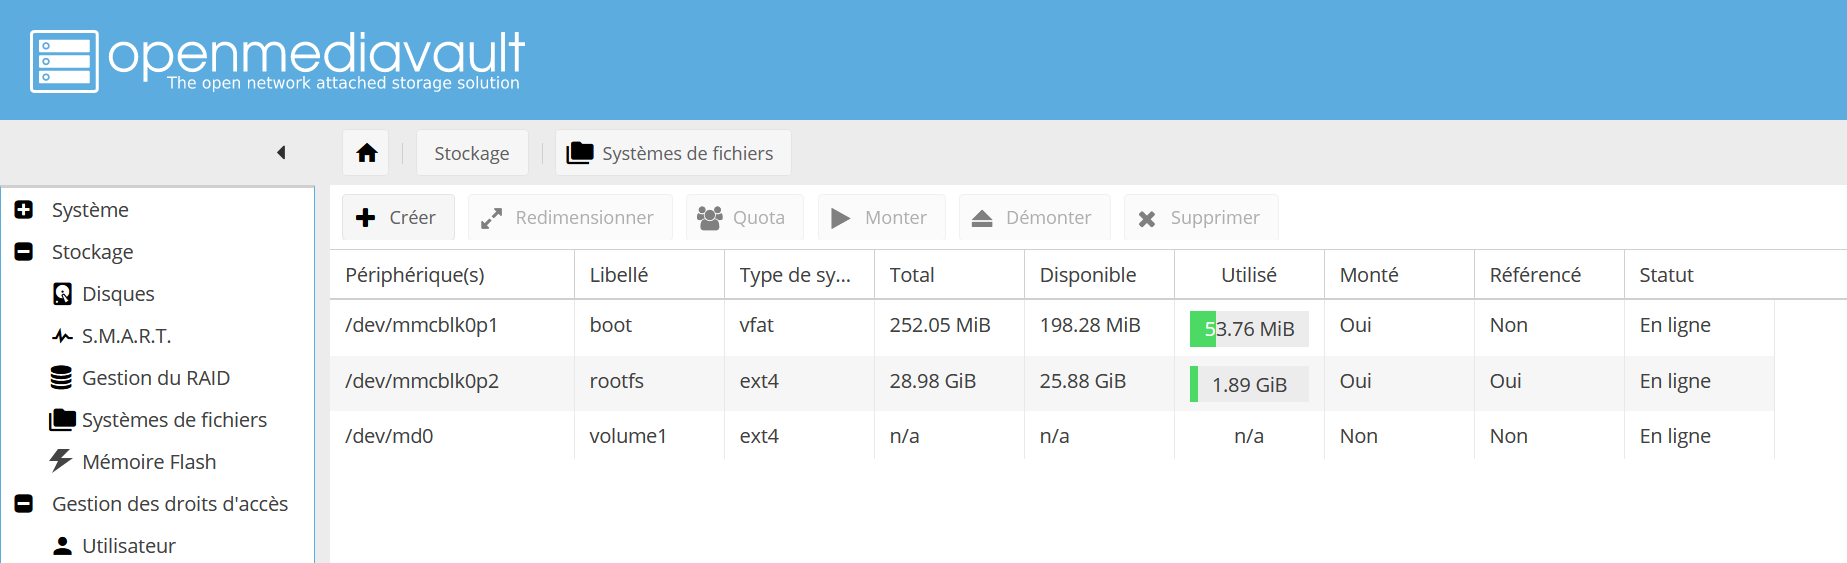
And create a file system on this disk.
Fourth step : Enable SAMBA to share the files.
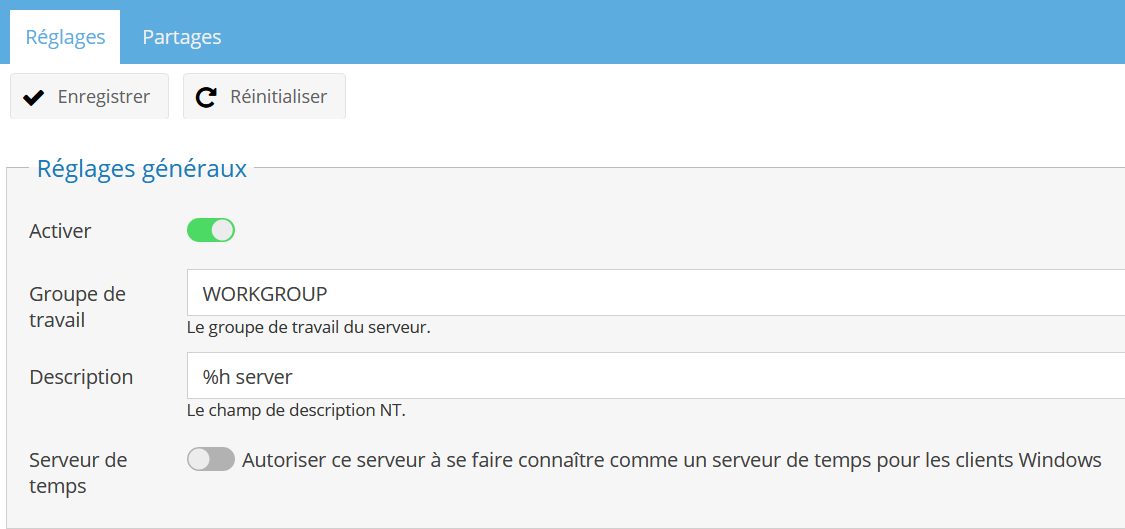
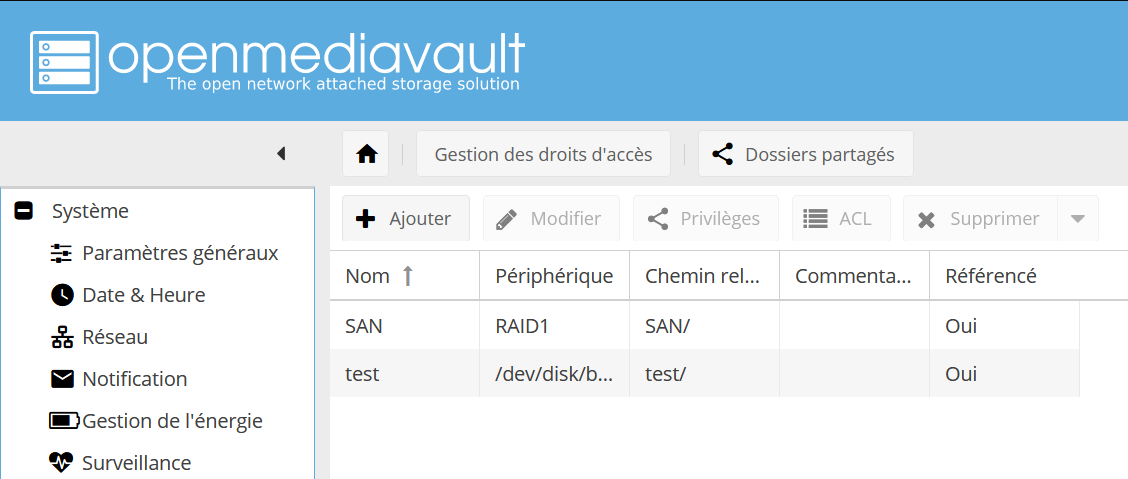
Fifth step : Share a file ! Now that the raid is set up, we just have to share a file and access it from the local network.
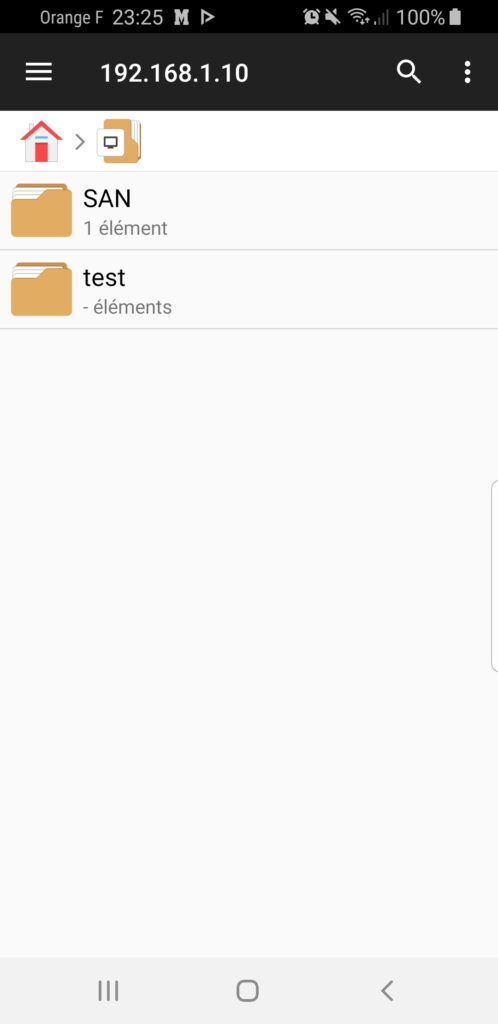
Data transmission
Now that the file is shared, we are able to acces it from our smartphone,
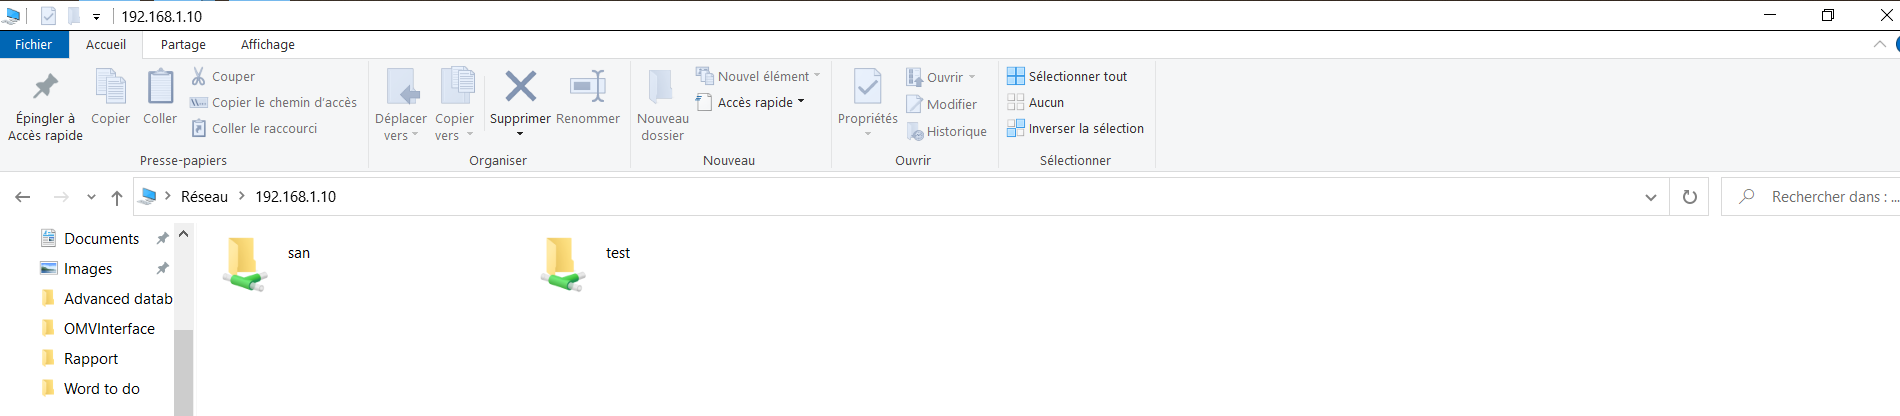
and from our computer.
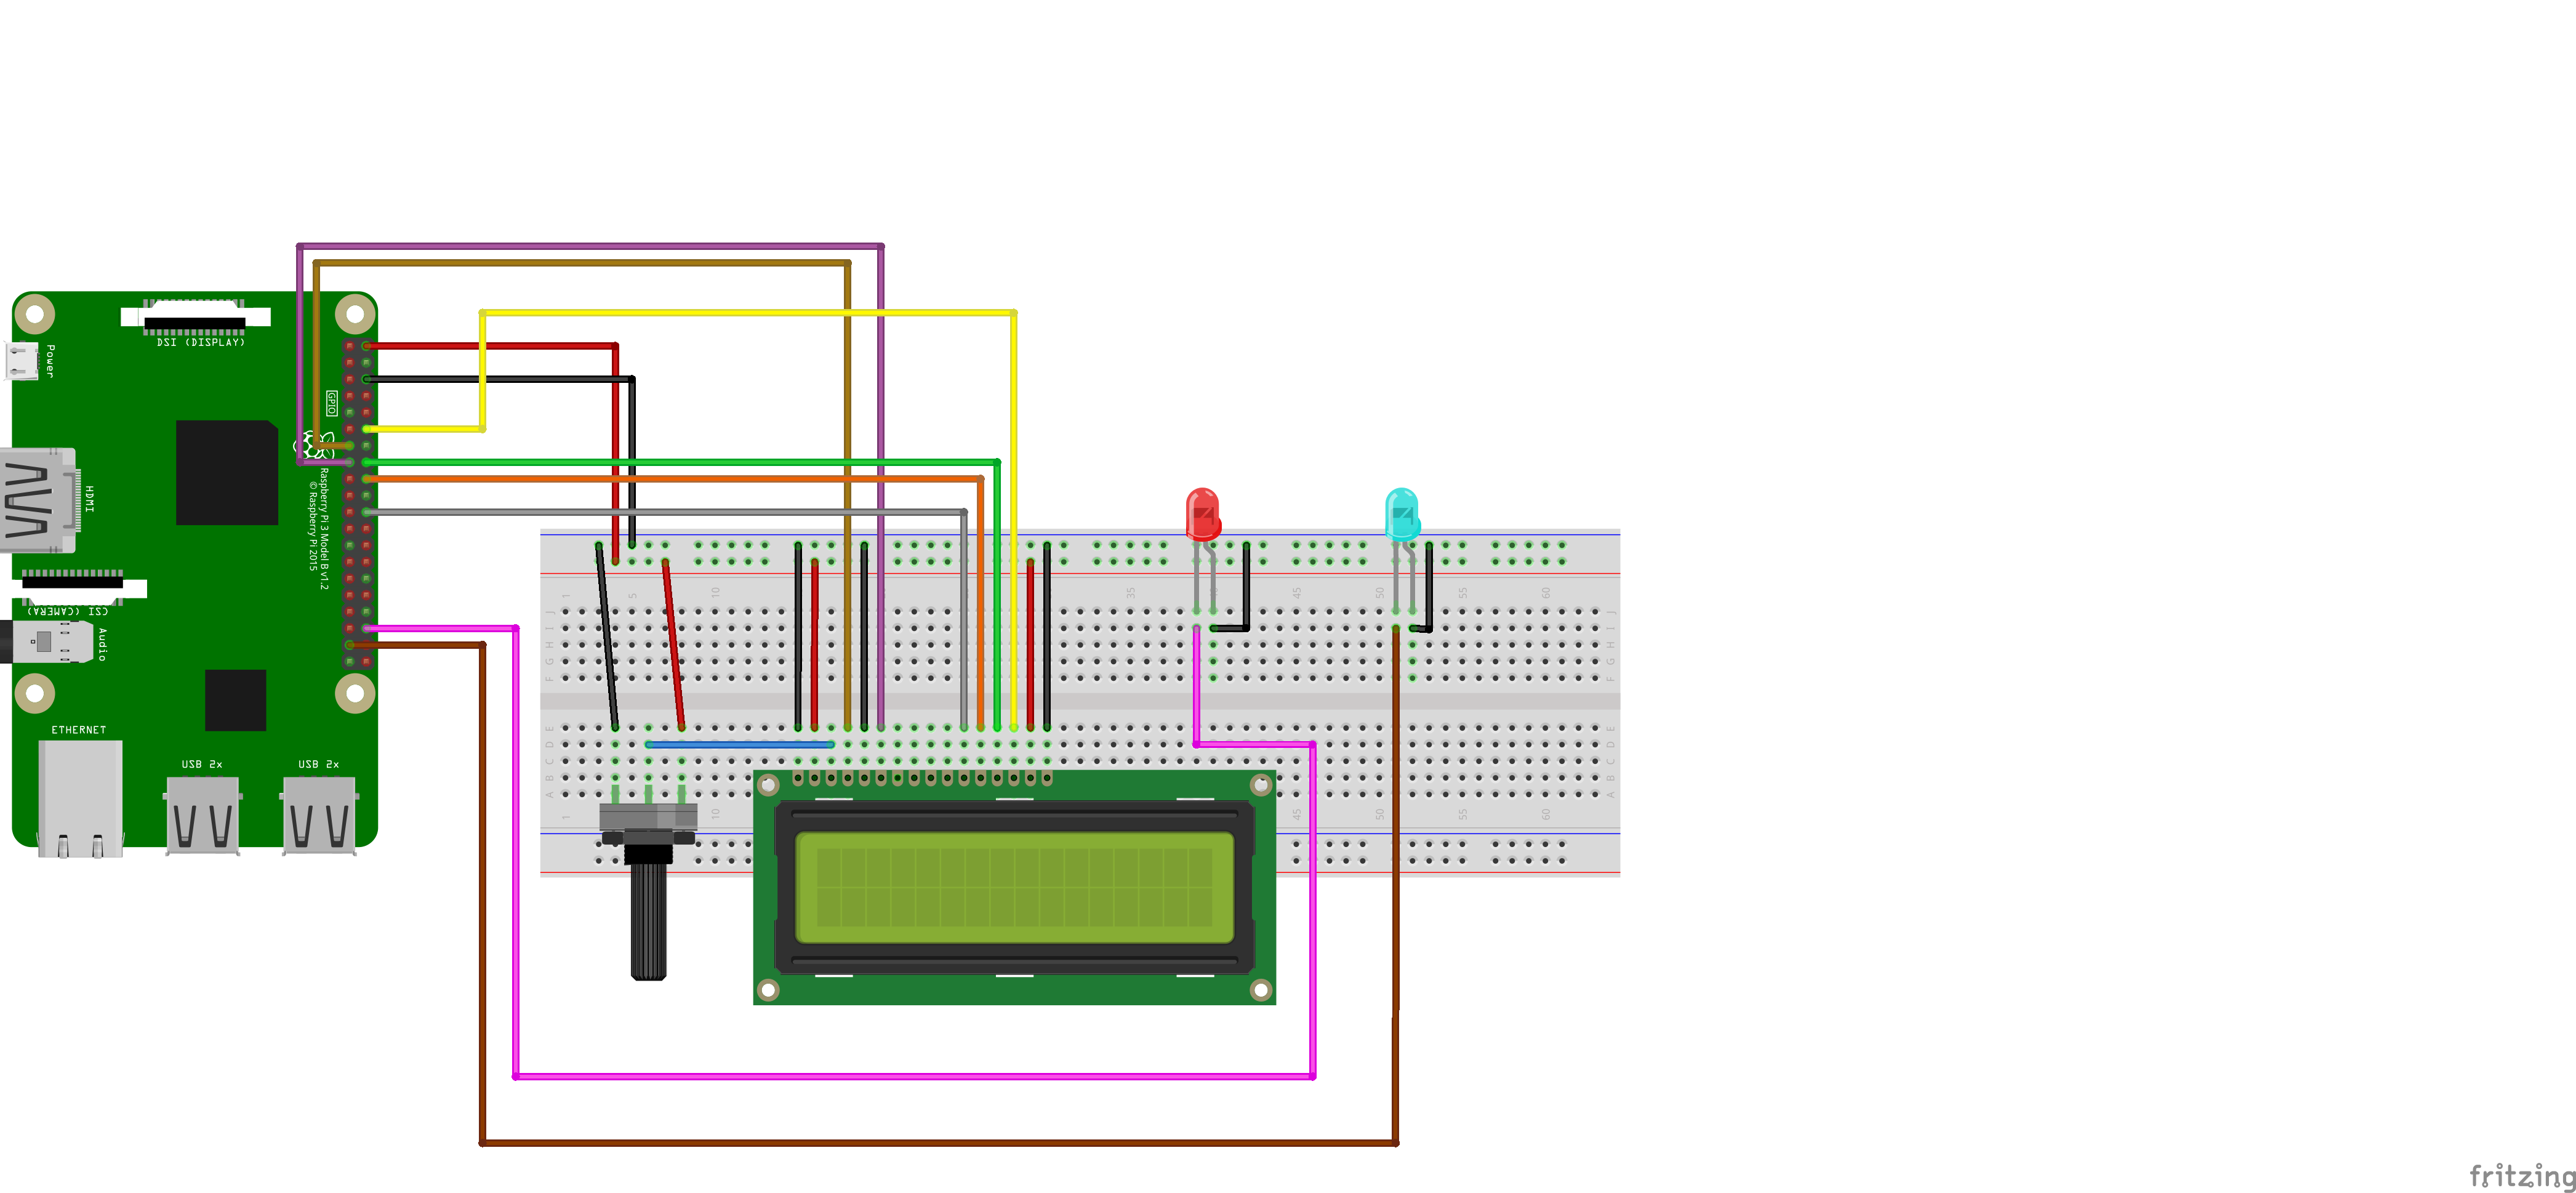
Hardware


Software
Arduino Code
from gpiozero import CPUTemperature
from time import sleep
from datetime import datetime
import board
import digitalio
import os
import adafruit_character_lcd.character_lcd as characterlcd
import RPi.GPIO as GPIO
import time
from gpiozero import LED
import subprocess


led1 = LED(16)
led2 = LED(26)

# LCD size
lcd_columns = 16
lcd_rows = 2

# LCD to RPi Pin
lcd_rs = digitalio.DigitalInOut(board.D27)
lcd_en = digitalio.DigitalInOut(board.D22)
lcd_d4 = digitalio.DigitalInOut(board.D25)
lcd_d5 = digitalio.DigitalInOut(board.D24)
lcd_d6 = digitalio.DigitalInOut(board.D23)
lcd_d7 = digitalio.DigitalInOut(board.D18)


# Initialise the lcd class
lcd = characterlcd.Character_LCD_Mono(lcd_rs, lcd_en, lcd_d4, lcd_d5, lcd_d6,
                                      lcd_d7, lcd_columns, lcd_rows)

# Retrieve and display CPU and HDD temperature
lcd.clear()
cpu = CPUTemperature()
while True:
     cpuTemp = cpu.temperature
     cpuSTR = str(round(cpuTemp))
     if cpuTemp > 48:
         led1.on()
     bashComand = "sudo smartctl -A /dev/sda | grep Temperature_Celsius"
     os.system(bashComand)
     output = subprocess.check_output("sudo smartctl -A /dev/sda | grep Temperature_Celsius",shell=True)
     array=output.split()
     string = array[9].decode("utf-8")
     print(string)
     hddTemp = int(string)
     lcd.message = "CPU Temp:" +  cpuSTR + "'C\n" + "HDD Temp:" +  string + "'C"
     if hddTemp > 45:
         led2.on()
     sleep(10)